Most iPhone users often transfer photos from their iPhone to a MacBook Air or Mac. Why? They want to free up space on their iPhones, do photo backups, or have better image processing capabilities.
How to transfer photos from iPhone to MacBook Air is very easy. Various ways are available for transferring photos from an iPhone to a MacBook Air. You can alternatively send photos and videos from your iPhone to your MacBook Air wirelessly through Airdrop and iCloud.
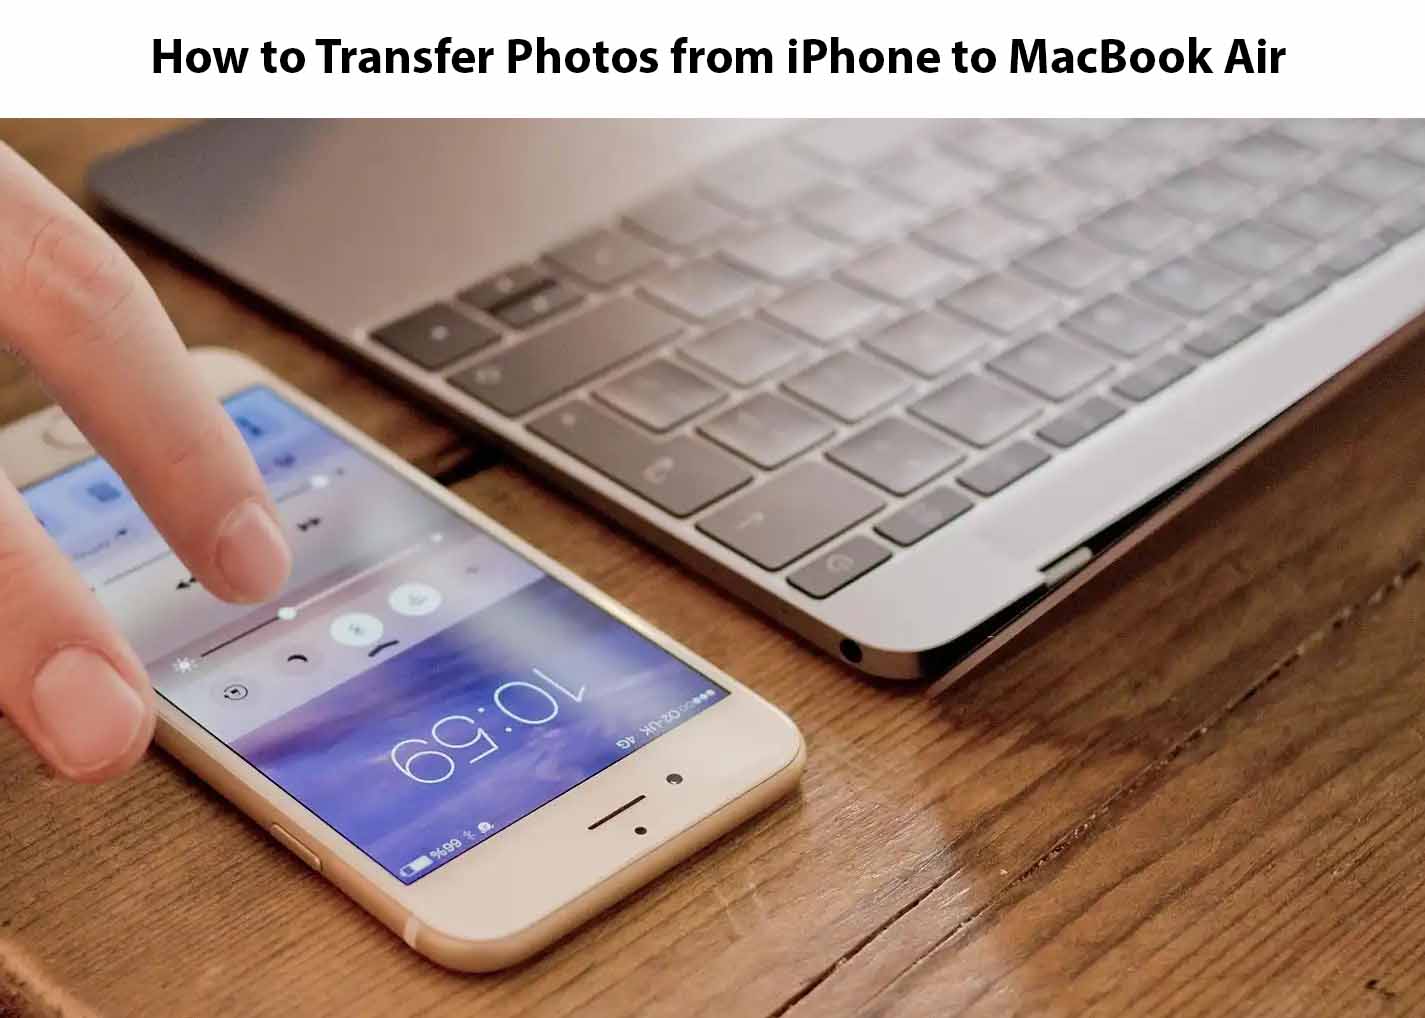
How to Transfer Photos from iPhone to MacBook Air
Here are the various ways to transfer photos from an iPhone to a MacBook Air:
Transfer Photos from iPhone to MacBook Air using a USB cable
Here’s how to import photos using a USB cable:
- Ensure your iPhone is connected to your Mac using the USB cable.
- Launch the Photos app on your Mac and click on your iPhone in the sidebar.
- An import screen will show all the photos present on your iPhone. You may need to unlock your iPhone to proceed further.
- Import all photos that have not been imported to your Mac. In addition, you can choose the album to which you want to import the image
- Select the album and tap the important Import button
- This process will take some time. Depending on the number of photos you are importing.
- That’s all. But you still have to disconnect your iPhone.
Your iPhone photos are now imported to your Mac.
Transfer Photos from iPhone to MacBook Air using iCloud
Follow the steps below to begin:
- If you haven’t enabled iCloud photos, go to settings > photos on your iPhone and enable the iCloud photos toggle.
- Launch https://www.icloud.com/ on a web browser on your Mac.
- Tap on photos, and you will see all your iPhone photos.
- Then select a few or all of the iPhone photos.
- Click the Download icon located at the top right.
After selecting the multiple photos, iCloud will create a file and download it on Mac. And you can now see your photos in the Download folder.
Transfer Photos from iPhone to MacBook Air Using Airdrop
This is another great way to transfer photos from your iPhone to your Mac effortlessly:
- Go to the Photos app on your iPhone.
- Choose the photos you want to transfer to your Mac.
- Click on the Share icon located at the bottom left.
- Tap on the Airdrop icon in the share menu.
- On the Airdrop screen, click on Mac and wait for the transfer to end.
Once the photos have been transferred, you will have to click Done on the top right.
Common Problems of iPhone to MacBook Air Photo Transfer
Below are some of the reasons why your photo transfer failed:
- Available space issues
- USB connection problem.
- Device trust issues.
- Internet connection problems.
The Bottom Line
Transferring photos from an iPhone to a MacBook Air can easily be carried out by the various methods stated above.
It is also vital to choose the one that best suits you among the ones listed above. Note: You should always remember to back up your photos to safeguard your data.
Frequently Asked Questions
How can I transfer photos from my iPhone to my MacBook Air wirelessly?
- Switch on your Airdrop on your iPhone and Mac.
- Launch the Photos app on your iPhone and select the items you want to transfer to your computer.
- Tap the “Share” button and choose “Airdrop”> “your Mac”.
How can I transfer photos from my iPhone to my MacBook without photos?
You will have to connect your iPhone to your Mac with an appropriate cable and launch the photo app. then continue with the onscreen prompts.
How do I copy photos from my iPhone?
Go to the library, then click all photos or days. Tap Select, then click the thumbnails you want to copy, then click Copy. Paste the copies into another document.
Also, Check Out;


