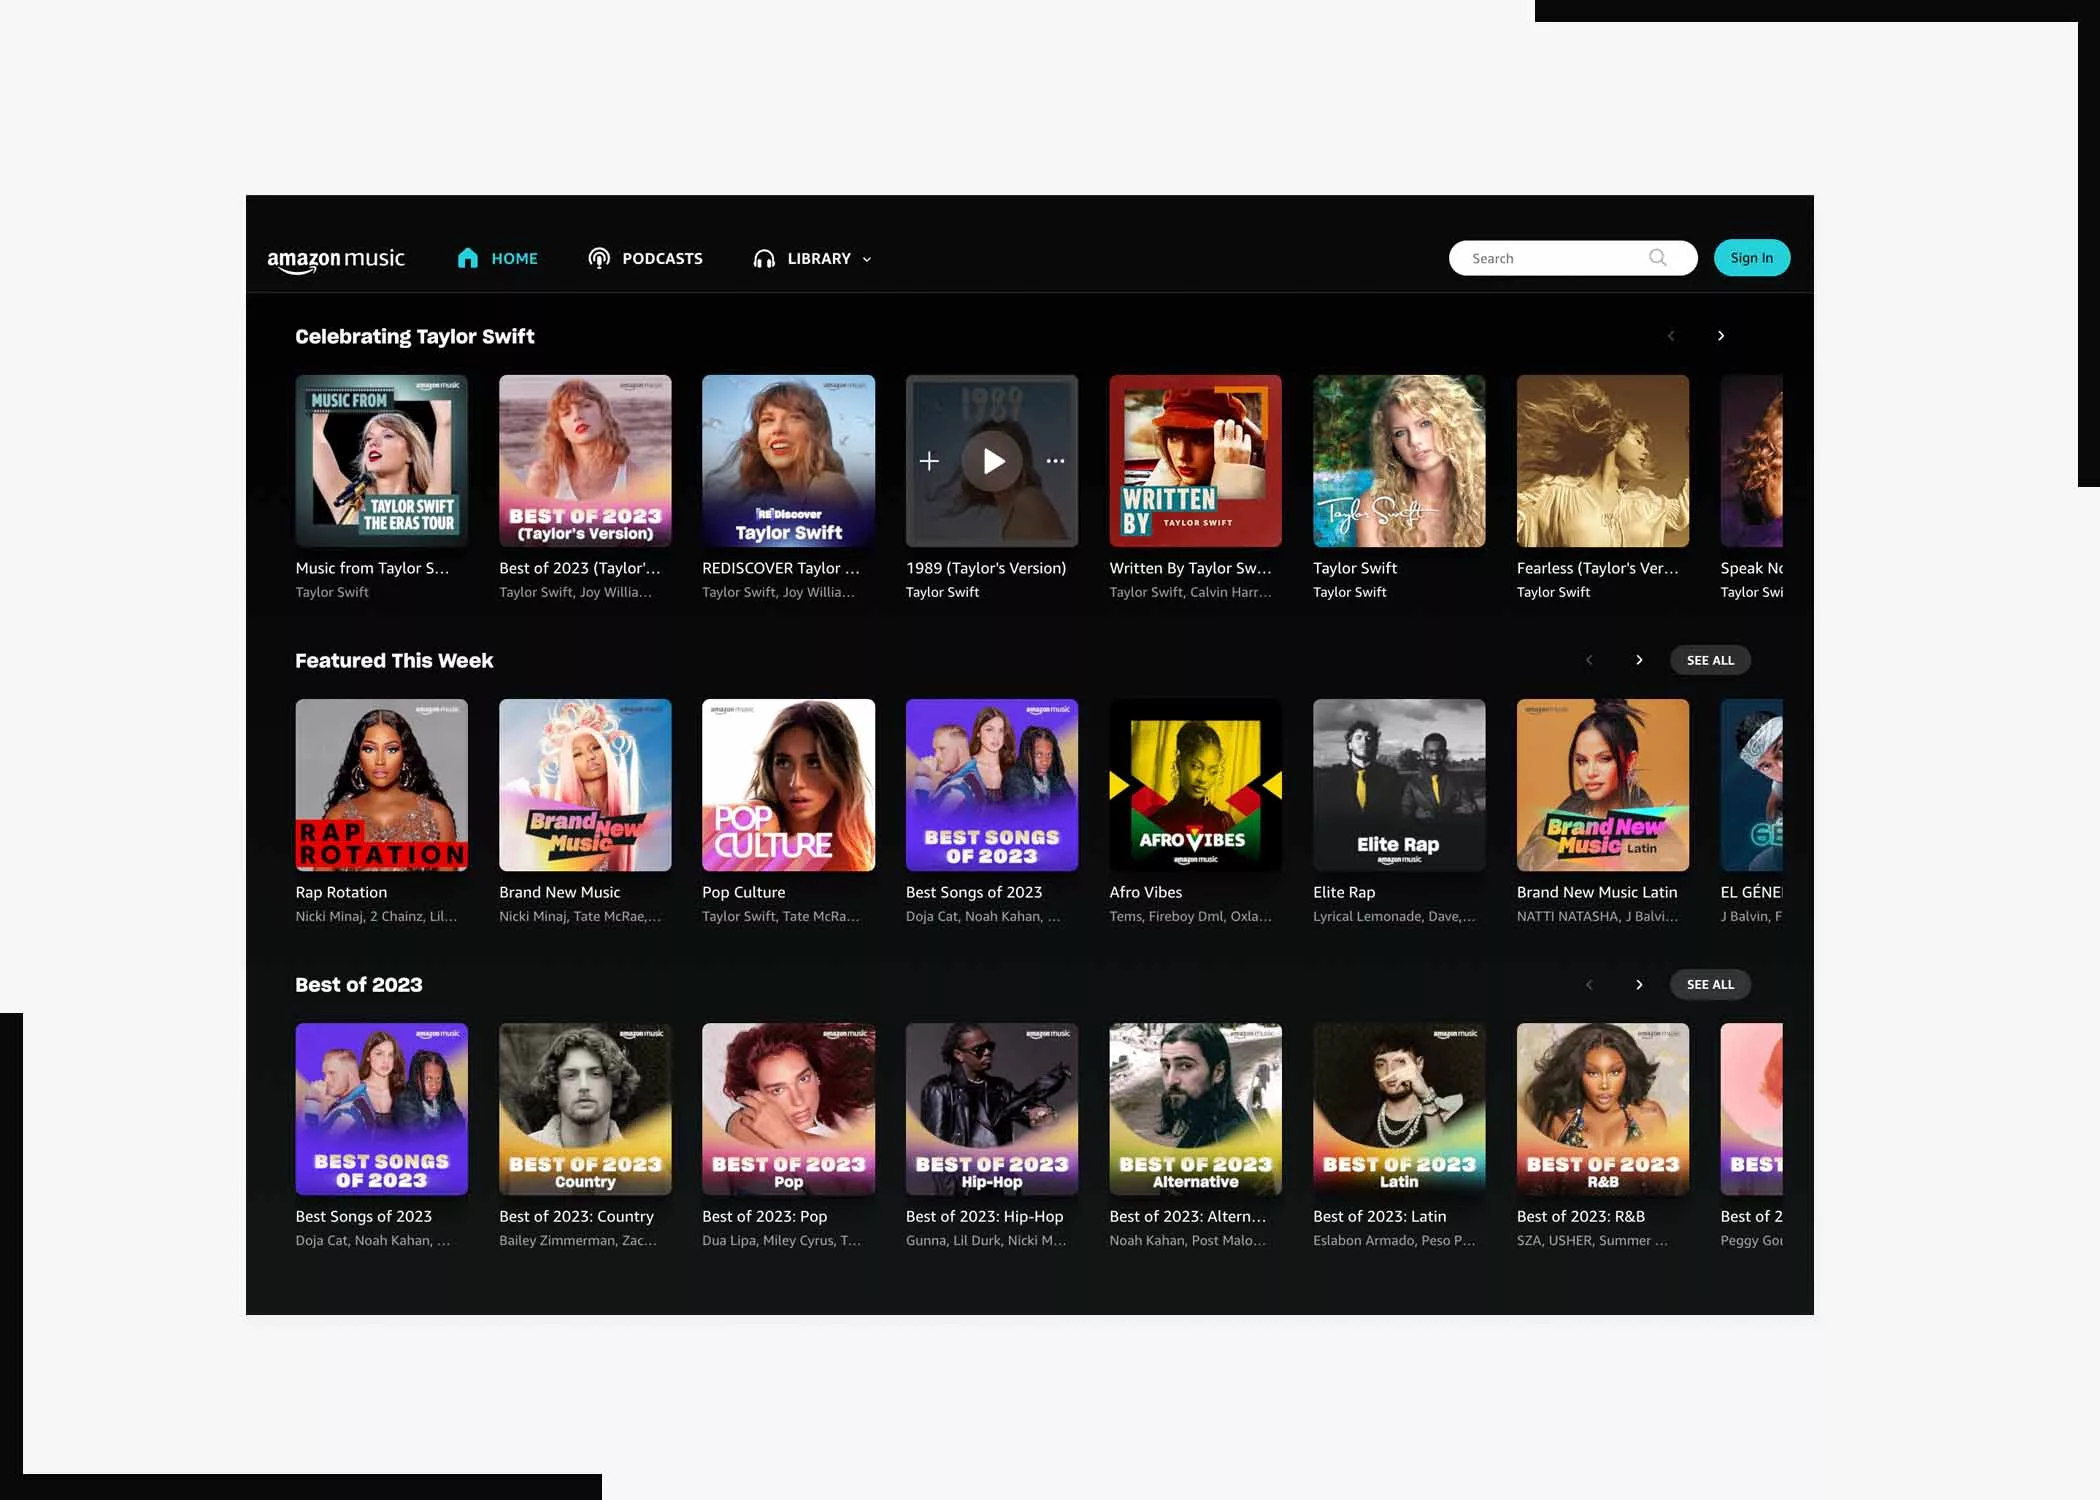
Don’t know how to cancel your Amazon Music subscription? Good thing you’re reading this article. Amazon Music, with its vast collection of songs and personalized playlists, has become a popular choice for music enthusiasts worldwide. Nevertheless, circumstances may arise where you must cancel your Amazon Music subscription.

Whether you’ve found an alternative service or need to manage your expenses, cancelling your subscription is a straightforward process. We will guide you through the steps to cancel your Amazon Music subscription hassle-free, so make sure to read to the end.
Steps to Cancel Amazon Music Subscription
As stated above, cancelling an Amazon music subscription is straightforward and fast, provided you have a fast connection. So, without wasting much time, let us proceed to share the steps;
1. Access Your Amazon Account
To begin the cancellation process, access your Amazon account. You can do this by visiting the Amazon website and logging in with your account credentials. If you’re using the Amazon mobile app, open it and sign in to your account.
2. Navigate to Your Amazon Music Settings
Once you’re logged in, locate the “Accounts & Lists” dropdown menu. From the dropdown menu, select “Your Account” to access your account settings.
3. Select “Amazon Music”
In your account settings, locate the “Digital Content and Devices” section. Under this section, click on “Amazon Music” to manage your music-related settings, including your subscription.
4. Manage Your Amazon Music Subscription
Under the “Amazon Music” section, you’ll find a list of options related to your subscription. Look for the “Amazon Music Unlimited” or “Amazon Prime Music” subscription, depending on the type of plan you have. Click on the “Cancel Subscription” button to proceed with the cancellation.
5. Confirm Cancellation
Upon clicking the “Cancel Subscription” button, Amazon will prompt you to confirm your decision. You may be presented with additional offers or discounts to encourage you to continue the subscription. Click on the “Confirm Cancellation” button to proceed.
6. Verification
To ensure account security, Amazon might require you to re-enter your account password or use a two-step verification process. Follow the prompts to verify your identity and complete the cancellation.
7. Confirmation Email
After successfully cancelling your Amazon Music subscription, you’ll receive a confirmation email from Amazon. The email will provide details of the cancellation and the effective date when your subscription access will end, after which you won’t be able to access the music.
Conclusion
Cancelling your Amazon Music subscription is a simple process that can be completed in a few easy steps. By following the step-by-step instructions that we have listed above, you should be able to cancel your music subscription on Amazon.
Whether you’re seeking a different music streaming service or need to take a break from subscription fees, knowing how to cancel your Amazon Music subscription empowers you to have complete control over your streaming experience. Also, we hope you find this helpful. If so, kindly share this post with your friends. And don’t forget to leave your thoughts in the comment box.


